OpenClaw
此教程适合 Linux 云服务器、macOS 系统用户
安装与初始化
安装 OpenClaw
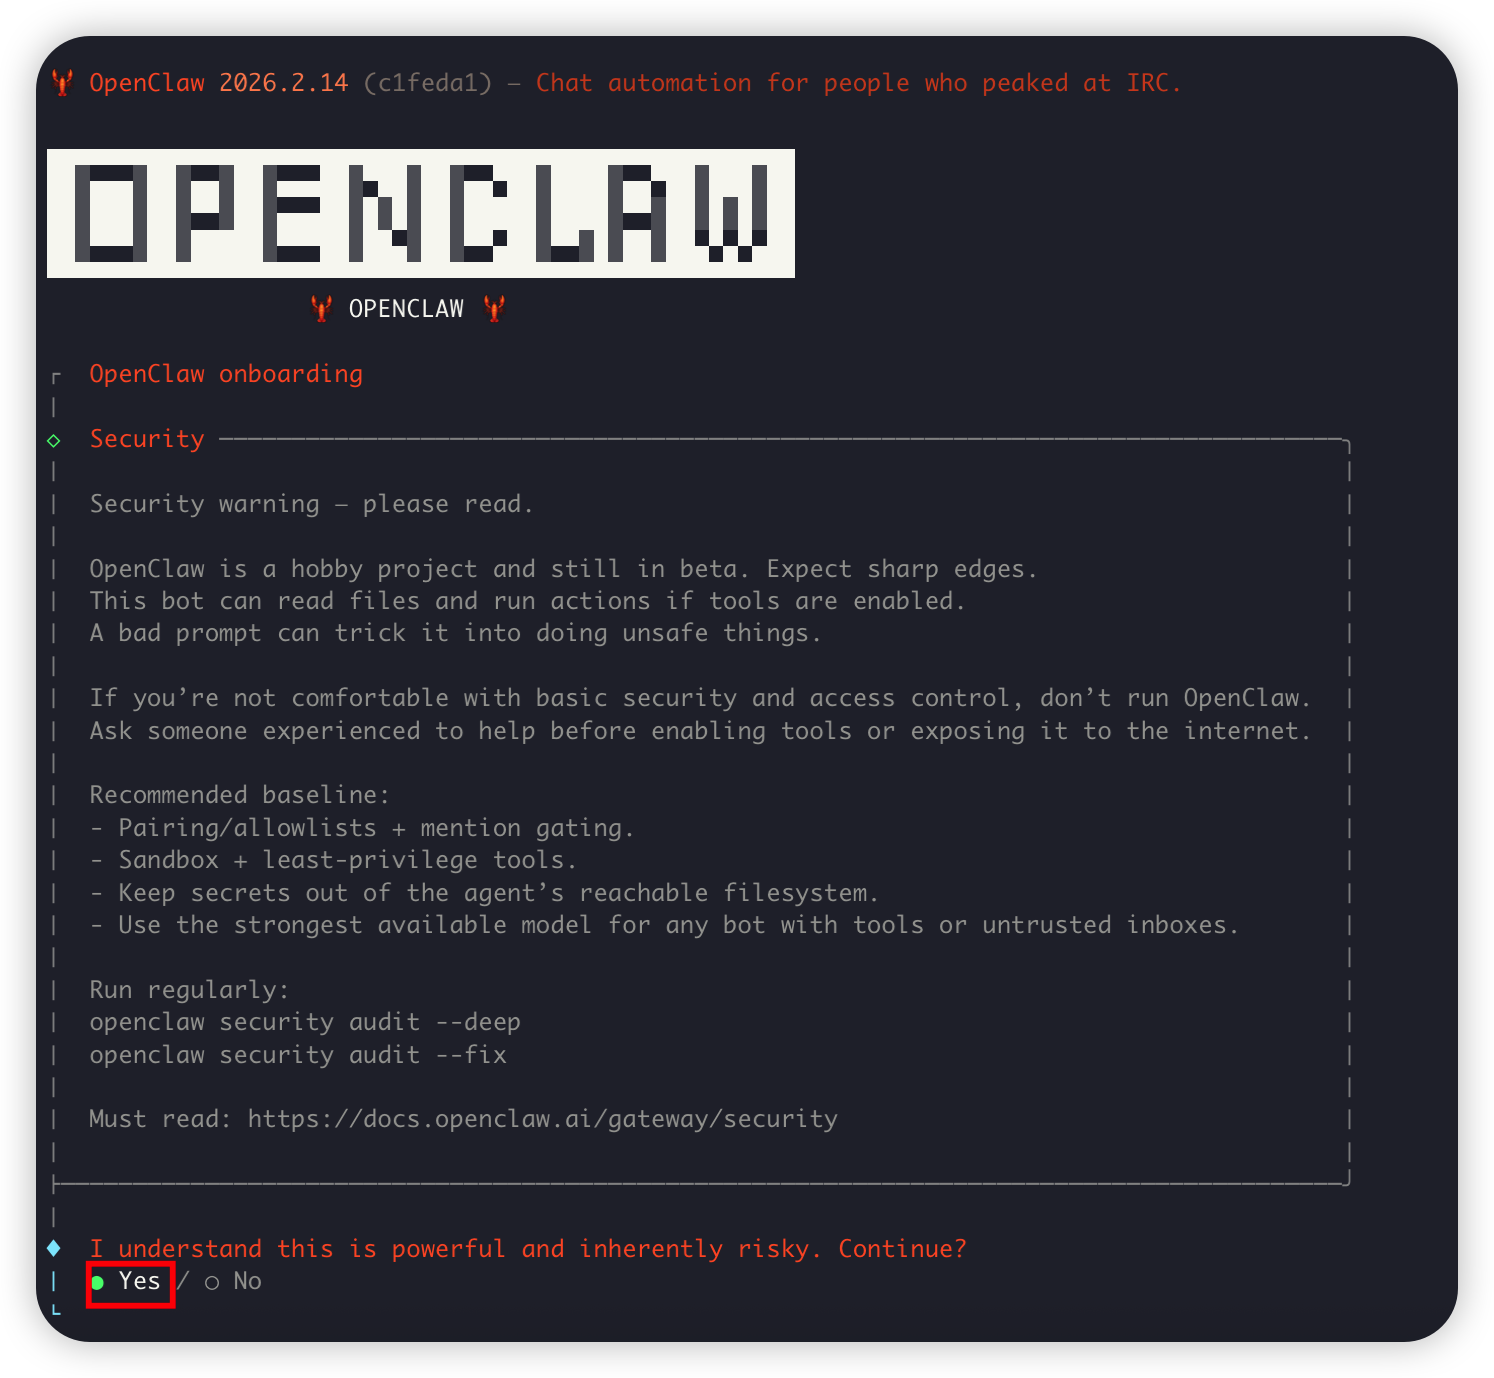
登录服务器 SSH,或在 macOS 打开你的终端程序,输入以下命令开始安装。耐心等待安装流程结束,出现以下界面提示后选择 yes 选项回车确认:
curl -fsSL https://openclaw.ai/install.sh | bash注意: 如果之前安装过,可以通过openclaw onboard命令重新进行初始化配置
选择 QuickStart
选择 QuickStart 回车确认:

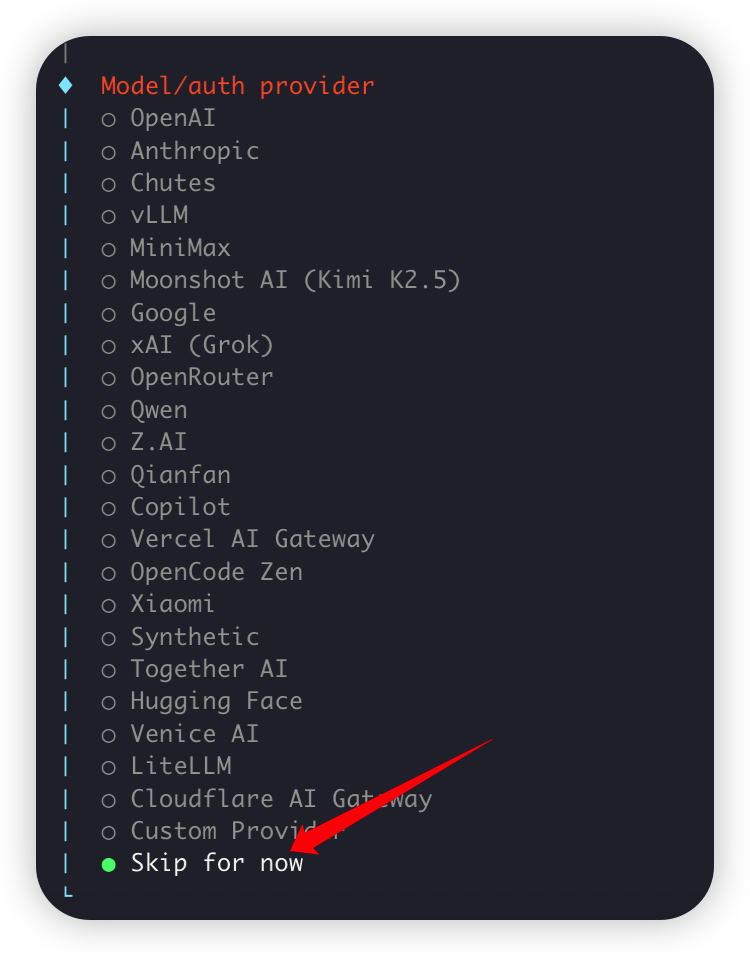
跳过供应商设置
在选择供应商部分先选择 Skip for now 回车确认,跳过设置:
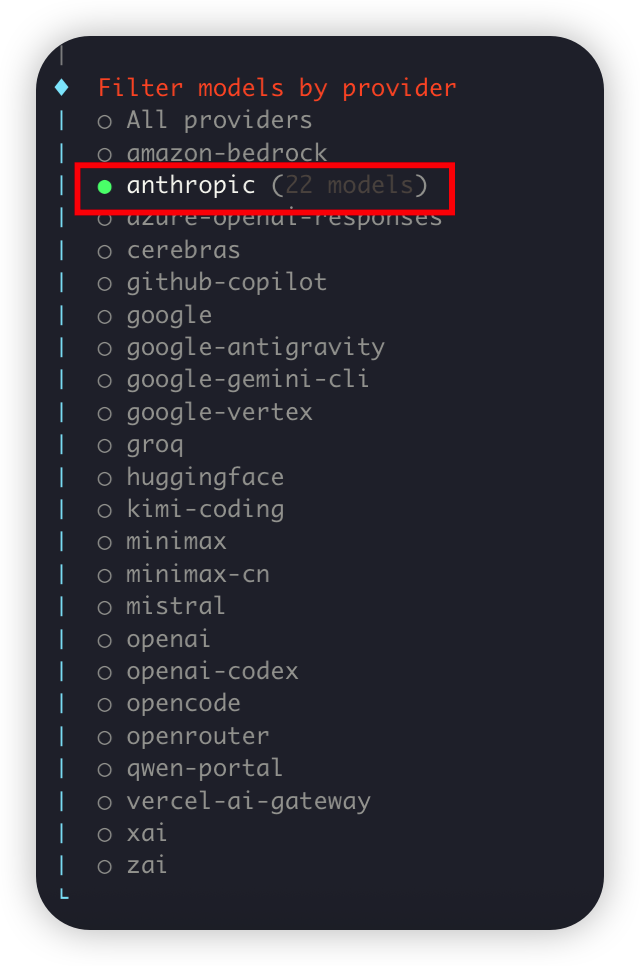
选择适配器
在适配器选择部分,选择 anthropic:
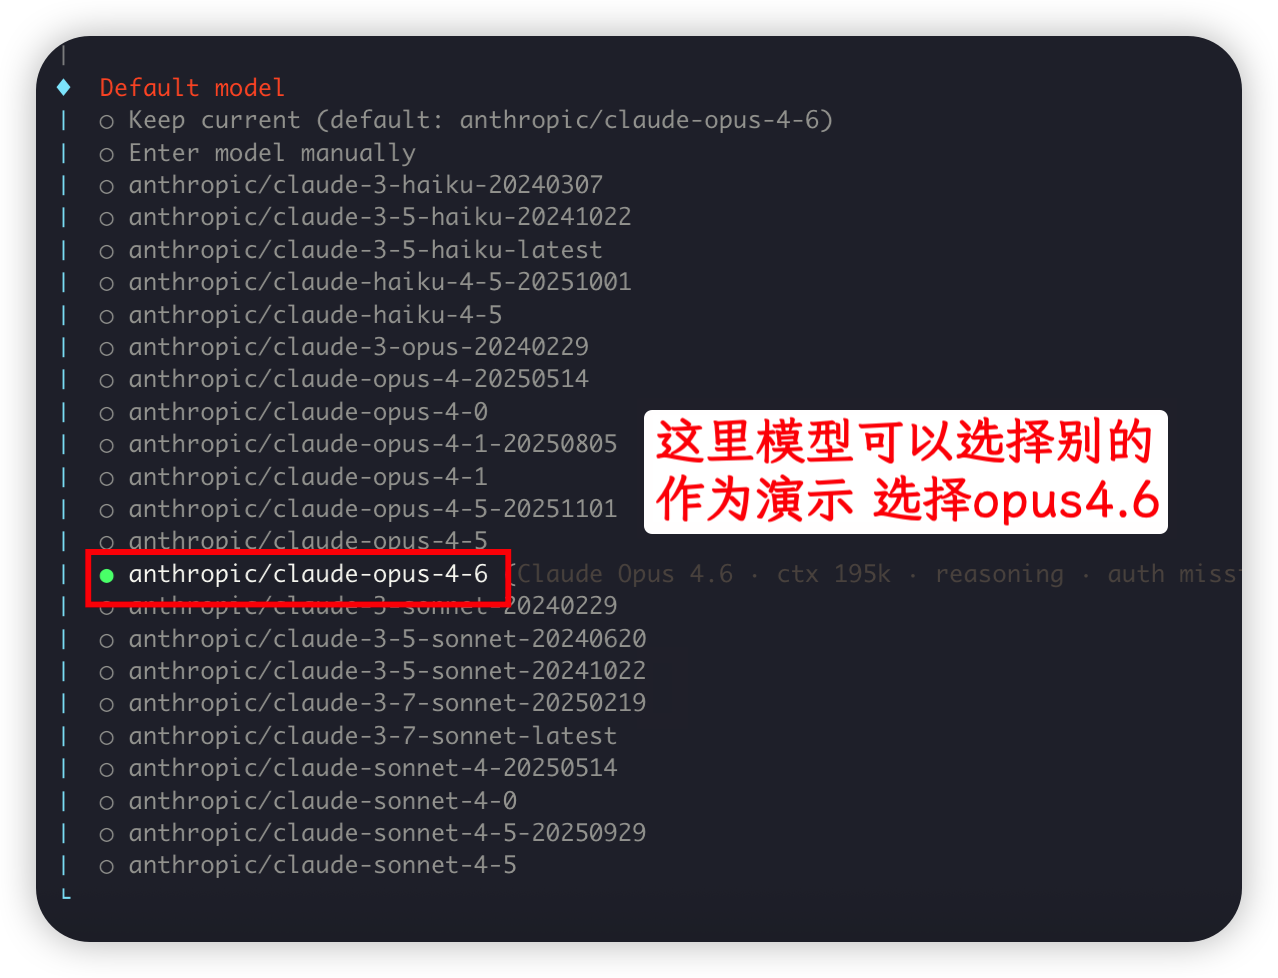
选择模型
在模型选择部分,选择 opus-4.5:
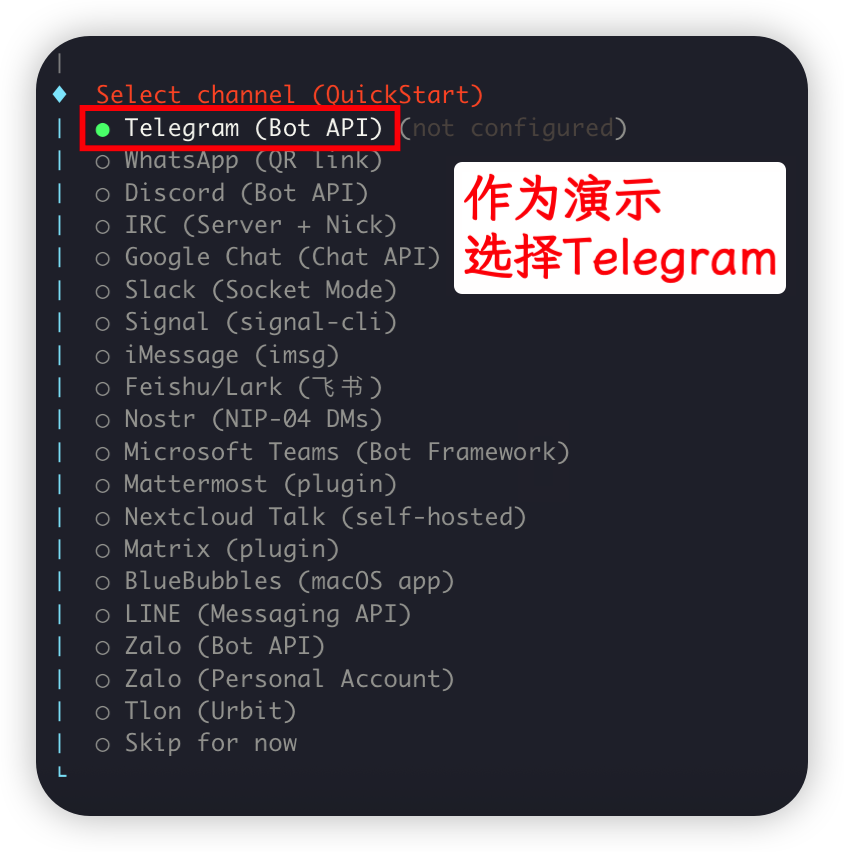
选择社交适配器
选择社交软件适配器(看个人需要),这里测试选择 Telegram:
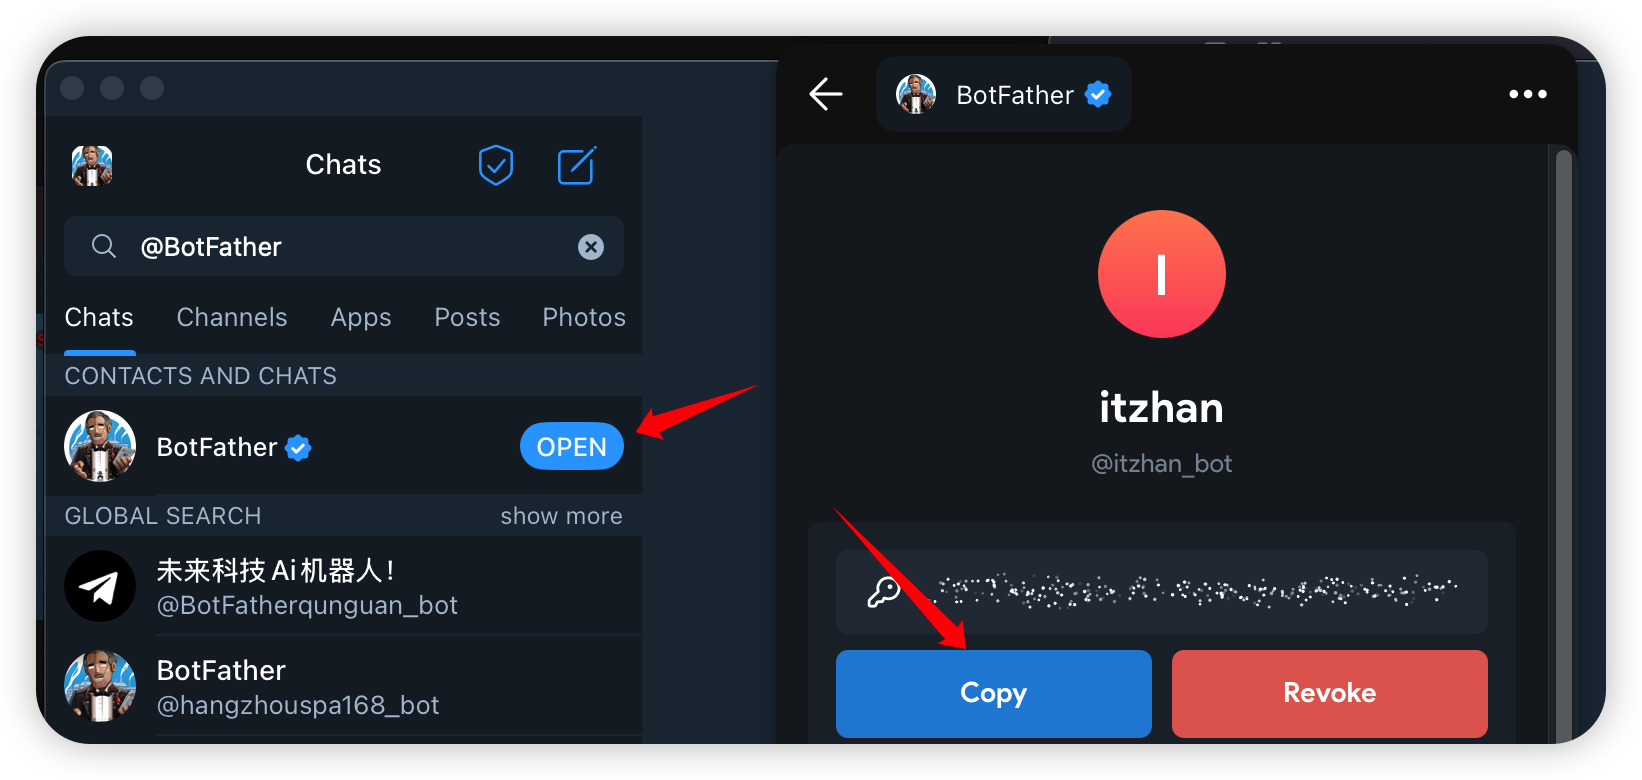
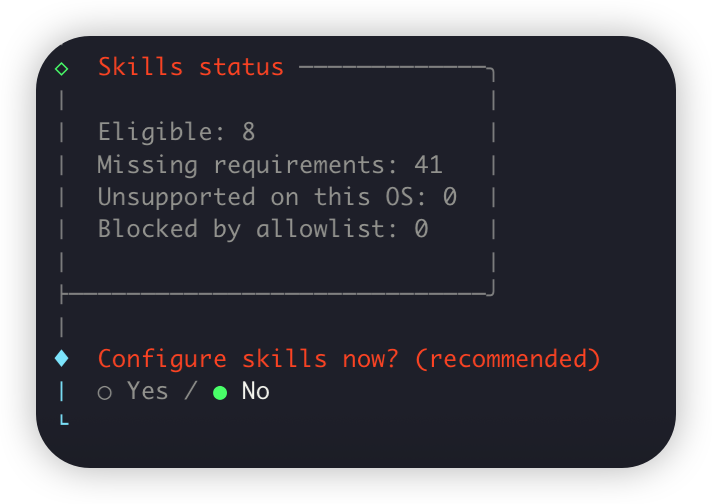
输入 Bot Token
输入 Bot Token,然后回车。Skill 安装先跳过,后续可以通过网页进行安装:
选择 Hook
使用空格键全选,然后回车确认。之后过程会有 GateWay 安装,请耐心等待:

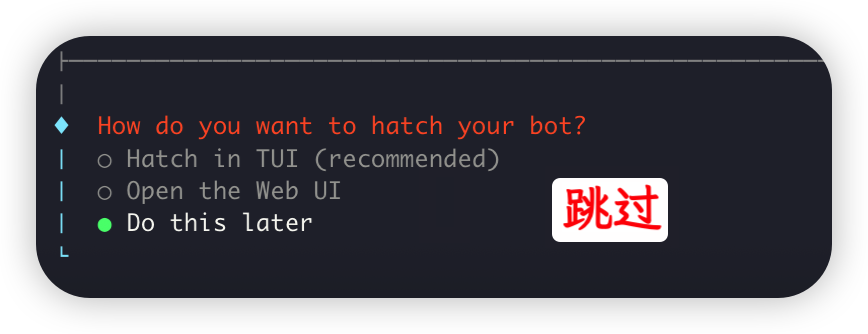
跳过打开方式
打开方式这里先选择跳过:
渠道与模型配置
建议自己手动打开看一下 ~/.openclaw/openclaw.json 文件,方便后期自己更改供应商和添加模型。
选择模型进行配置
Claude 模型
OpenClaw 属于第三方调用,不支持官渠,请选择 Kiro 逆向渠道:
⚠️受近期官方风控升级影响,官渠目前临时调价为 1.5,且仅限早上 8 点到晚上 11 点供应,凌晨不保证可用性;Kiro 渠道可能会随时下线,请注意看群通知。
⚡ Kiro Power 逆向
0.5x 倍率
☁️ AWS Bedrock 官渠
2.5x 倍率
请将下方命令中的 baseUrl 替换为上方复制的渠道请求地址:
openclaw config set 'models.providers.tabcode-claude' --json '{
  "baseUrl": "替换为上方复制的渠道请求地址",
  "apiKey": "替换为你的apikey秘钥",
  "api": "anthropic-messages",
  "models": [
    {
      "id": "claude-opus-4-6",
      "name": "claude-opus-4-6"
    },
    {
      "id": "claude-sonnet-4-5-20250929",
      "name": "claude-sonnet-4-5-20250929"
    },
    {
      "id": "claude-haiku-4-5-20251001",
      "name": "claude-haiku-4-5-20251001"
    }
  ]
}'
# 再把默认模型指到这个 provider
openclaw config set 'agents.defaults.model' --json '{
"primary": "tabcode-claude/claude-opus-4-6"
}'Codex 模型
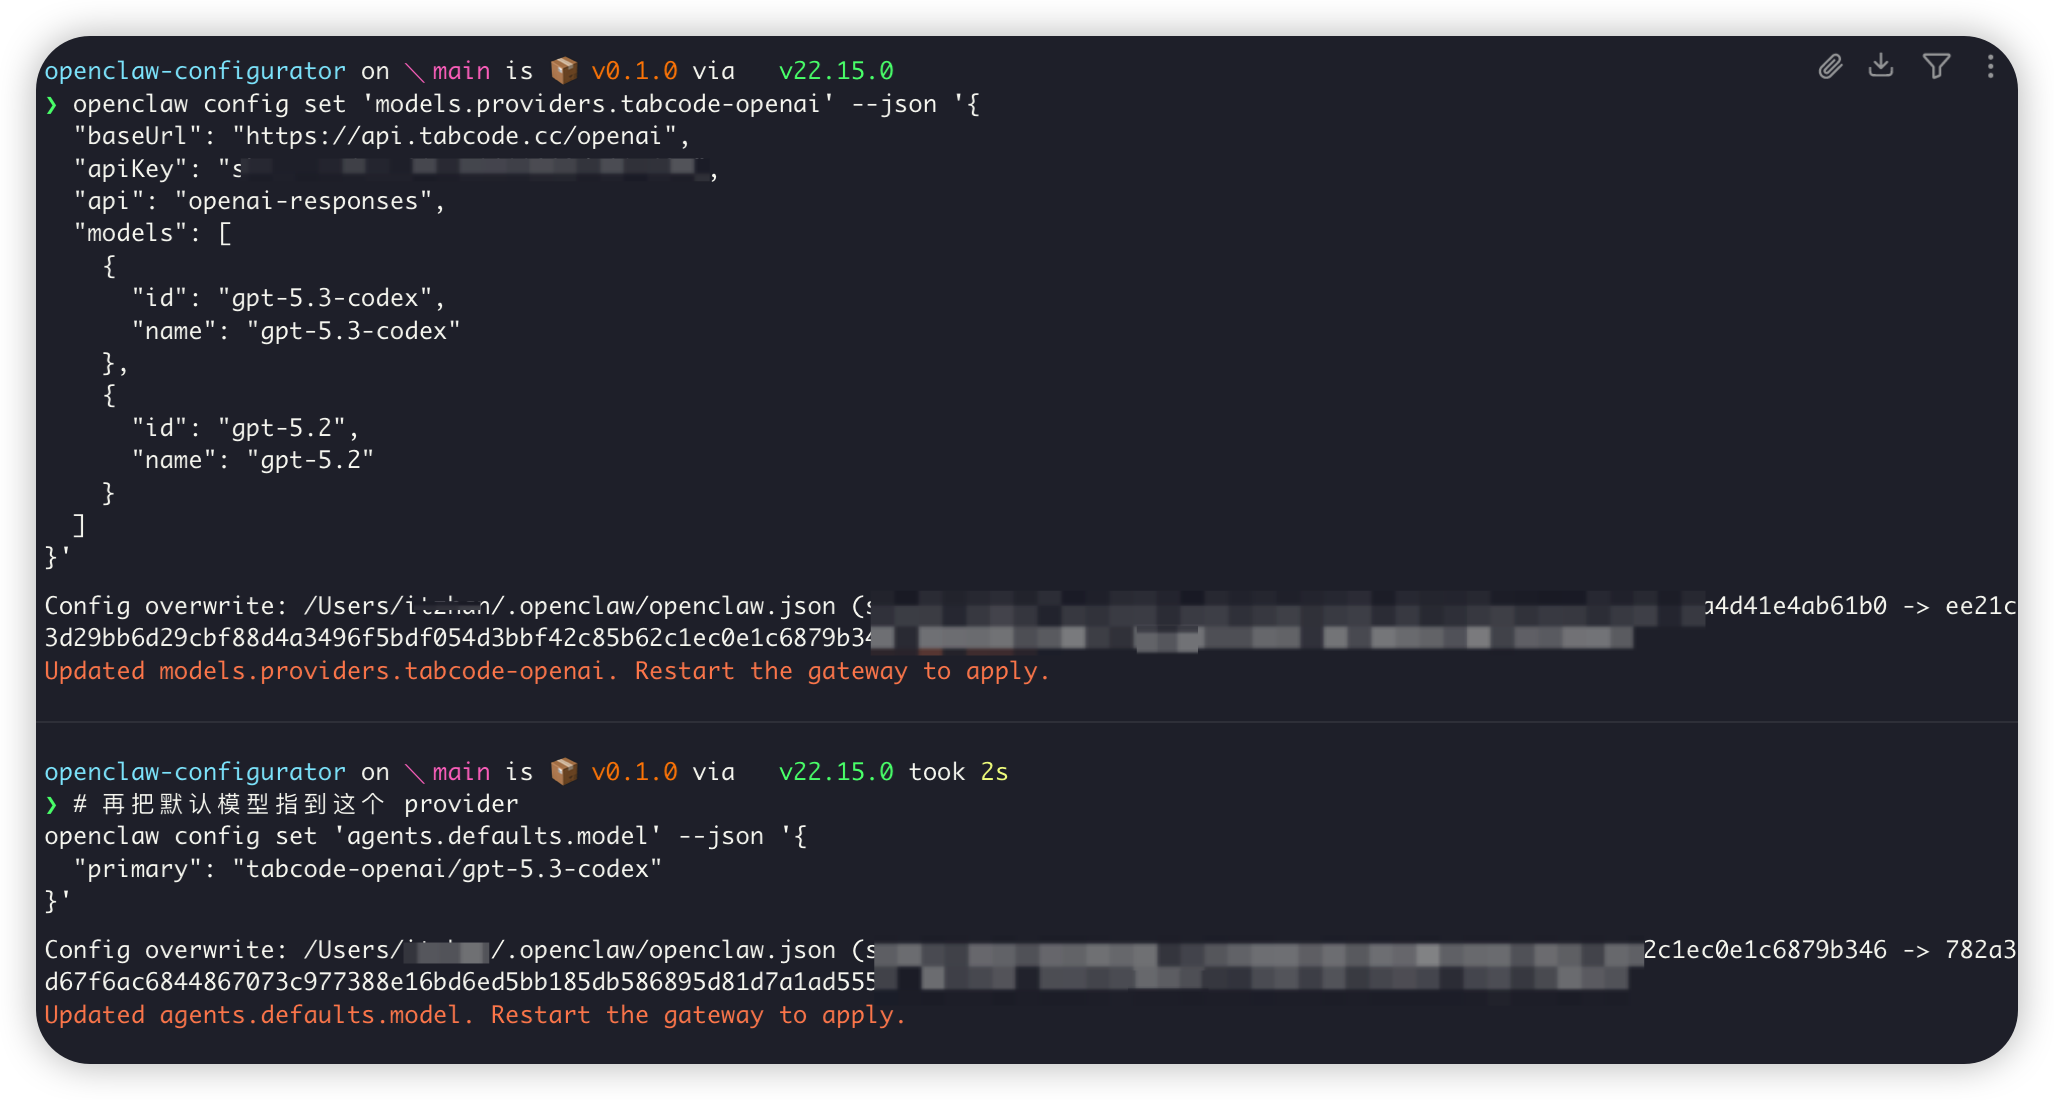
openclaw config set 'models.providers.tabcode-openai' --json '{
  "baseUrl": "https://api2.tabcode.cc/openai",
  "apiKey": "替换为你的apikey秘钥",
  "api": "openai-responses",
  "models": [
    {
      "id": "gpt-5.4",
      "name": "gpt-5.4"
    },
    {
      "id": "gpt-5.2",
      "name": "gpt-5.2"
    }
  ]
}'
# 再把默认模型指到这个 provider
openclaw config set 'agents.defaults.model' --json '{
"primary": "tabcode-openai/gpt-5.4"
}'测试模型
运行以下命令进入 TUI 界面进行对话测试:
openclaw tui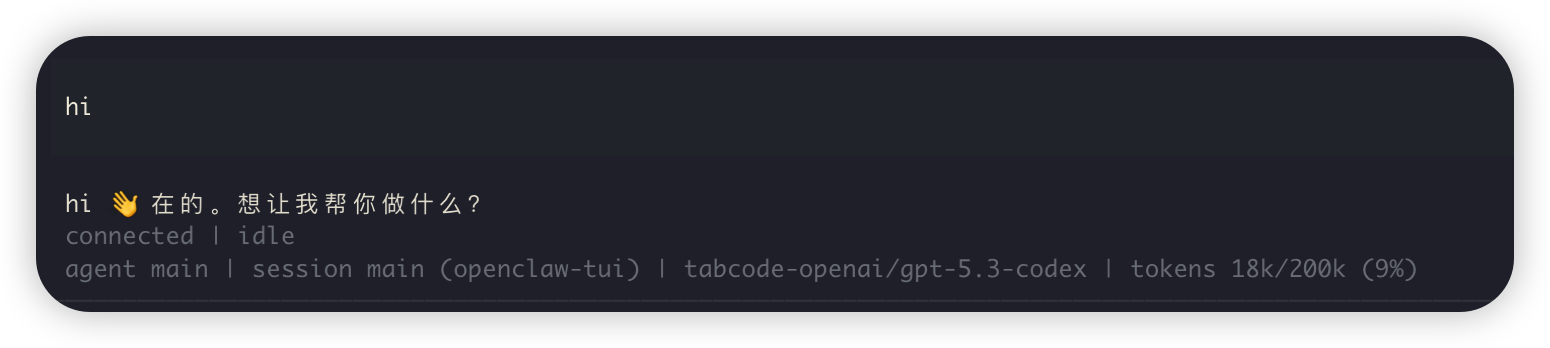
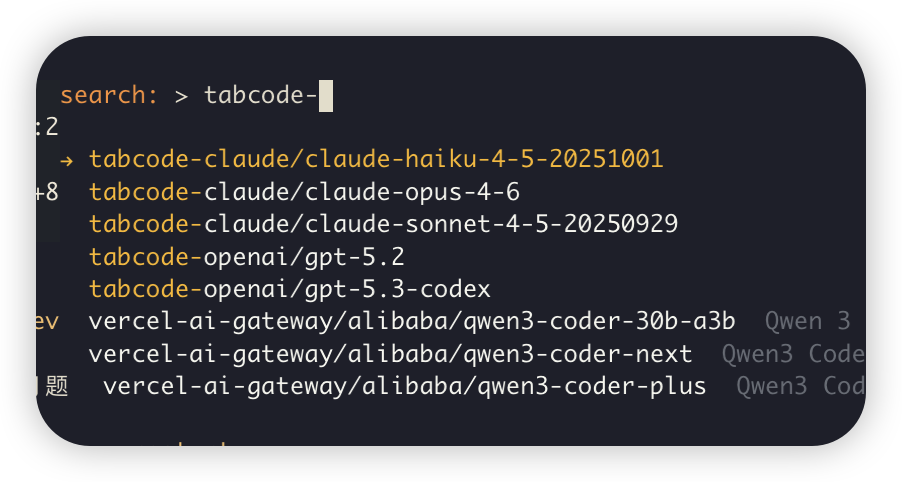
也可以在 TUI 中输入 /model,然后输入 tabcode 筛选并选择模型:
Last updated on